reworked materials for my rifle

Reworked materials for my rifle

Having fun with Blender

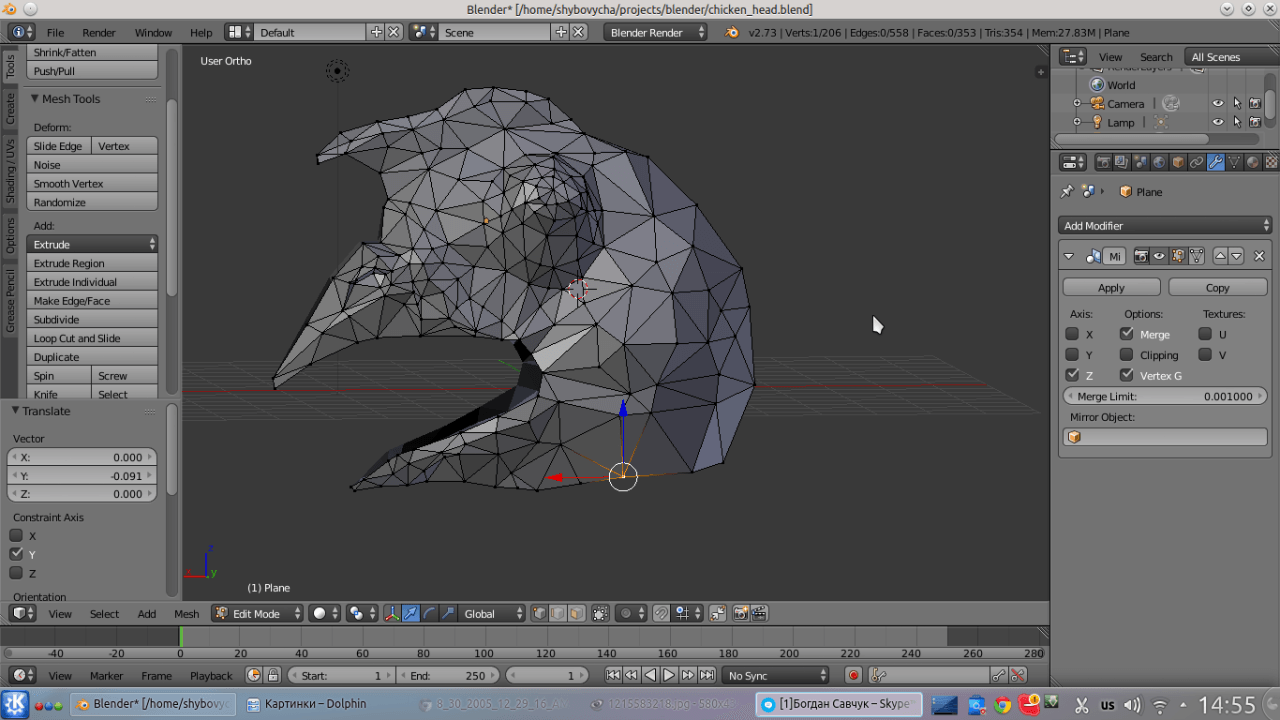
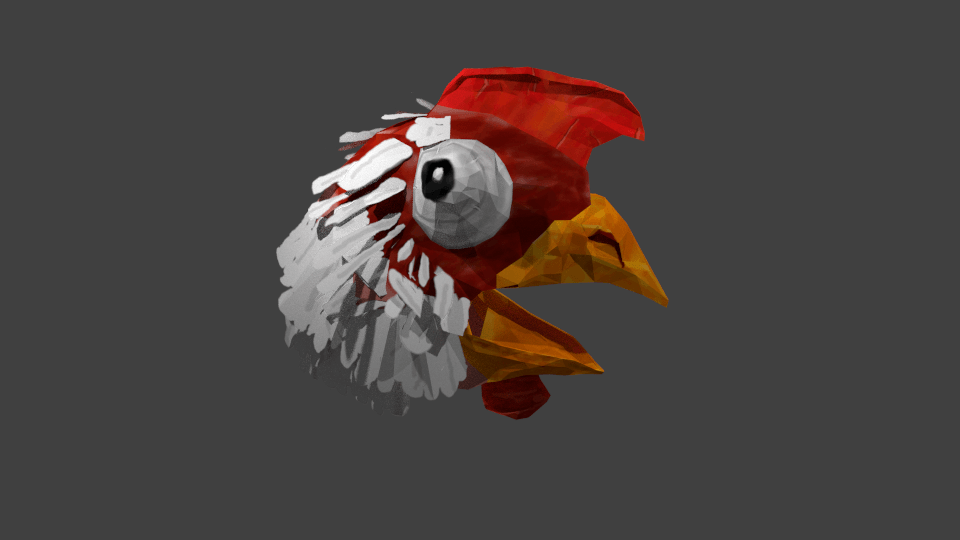
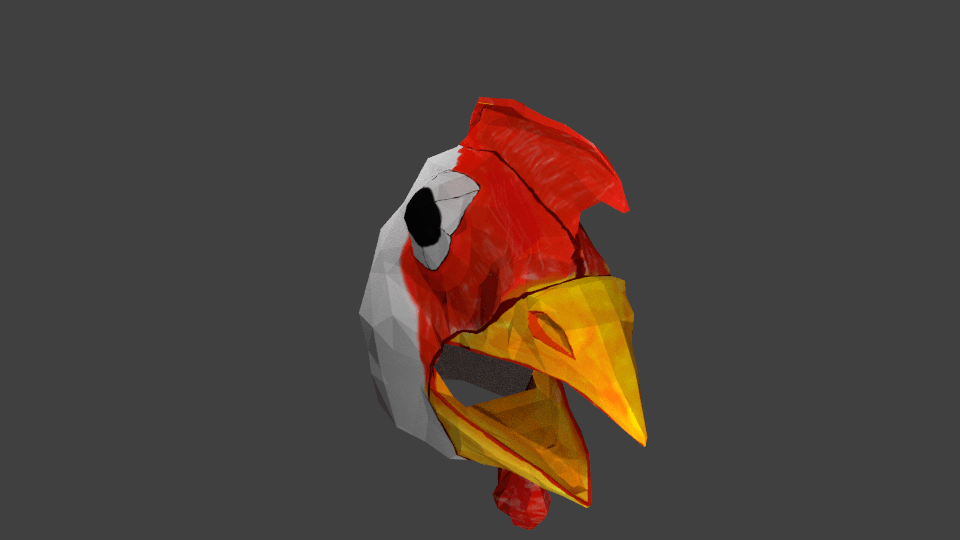
Having fun texturing chicken head in Blender

Just some WIP. Having fun with Blender 😊

Installing deb package with dependencies

Oftenly,

sudo dpkg -i package_file.deb

fails with messages like dependency not satisfied.

To fix this, there are two ways:

  1. sudo dpkg -i package_file.deb && sudo apt-get -f install
  2. sudo dpkg -i --force-depends package_file.deb

Obviously, the second one is shorter =)

My very first model in Blender

Cup modelled in Blender Textured cup in Blender

Playing around with Blender - rendering, modifiers and some basic texturing and materials.

Rails tips

Found these on HabraHabr today. Here are some tricks I found usefull.

Private methods are not actually private

Let us have class:

class Moo
  private

  def self.foo
    puts 'foo'
  end
end

Here, class method foo is not private:

Foo.foo
=> 'foo'

Instance with params

Oftenly there is a need to create a class instance and set it some params (or, maybe, call some methods on it). It’s done usually like this:

moo = Moo.new
moo.foo = 'foo'
moo.bar

This can be shortened with the use of `tap` method:

moo = Moo.new.tap { |a| a.foo = 'foo'; a.bar }

Yet, it is more ruby-convenient and ruby-style to do it with the initialization block:

class Moo
  attr_accessor :foo

  def initialize(&block)
    yield self if block_given?
  end

  def bar
    puts "bar!"
  end
end

moo = Moo.new do |a|
  a.foo = 'foo'
  a.bar
end

puts moo.foo

Or even like this:

class Moo
  def initialize(&block)
    instance_eval &block if block_given?
  end

  def moo(val = nil)
    @moo = val unless val.nil?
    @moo
  end

  def bar
    puts "bar!"
  end
end

a = Moo.new do
  moo 'moo~!'
  bar
end

puts a.moo

Code-dependent migrations

When you have your migrations using your code, for example, like this:

class CreateDataVolumes < ActiveRecord::Migration
  def up
    Data::VOLUMES.times do |volume|
      create_table "data_#{volume}" do |t|
        # ...
      end
    end
  end
end

you then have a problem when updating your code. In our example, if you remove the constant Data::VOLUMES, you will have to either manually search for all the usages of this constant, or have a really intelliJent IDE ;)

Rather than using your existing code, stub it and copy-and-paste all migration-dependent code to the stubbing class:

class CreateDataVolumes < ActiveRecord::Migration
  class Data < AR::Base
    VOLUMES
  end

  def up
    Data::VOLUMES.times do |volume|
      # ...
    end
  end
end

Example with constant is rather stupid, whilst you may have some more critical code.

Abstract classes vs interfaces

Lately I was a few times asked a question “what do we need abstract classes for?”

And today I’ve got one more question, which inspired me to write this.

Read more

Erlang practice

Foreword

First time I faced functional programming, I was impressed. Just a bit. That was back in 2012. The second time, I was studying real functional programming at the university. Today was the final test.

We were taught many interesting things about functional programming and lot of things about Haskell. But there were only two lectures and two practices on Erlang. And nothing was told about its distributed programming abilities.

I was a bit disappointed by this fact. So, I turned on my girlfriend’s laptop, installed Erlang and created this short intro to distributed programming in Erlang.

Read more

Robo created in a Cinema4d

This is a 3D model of a robot (called him Robo) which I made in Cinema4D some two and a half years ago.

Robot model

Connecting Lenovo P780 to ADB on Ubuntu

Ohhh… Today I’ve faced one great trouble: recently I reinstalled my Ubuntu, so I lost all my configurations. And when I tried to connect my Lenovo P780 to debug my Android application, I saw horrible error:

$ adb devices
* daemon not running. starting it now on port 5037 *
* daemon started successfully *
List of devices attached
????????????    no permissions

Hey! Where did my smartphone gone?!

Fooling around in the internet, I found two simple steps to fix this:

  1. find the VendorID and ProductID for your device running lsusb two times (just find the difference line): a. when your device is disconnected b. when your device is connected

    This will give you two outputs:

    $ # disconnected device
    
    $ lsusb
    Bus 002 Device 002: ID 8087:0024 Intel Corp. Integrated Rate Matching Hub
    Bus 002 Device 001: ID 1d6b:0002 Linux Foundation 2.0 root hub
    Bus 001 Device 004: ID 064e:d213 Suyin Corp.
    Bus 001 Device 002: ID 8087:0024 Intel Corp. Integrated Rate Matching Hub
    Bus 001 Device 001: ID 1d6b:0002 Linux Foundation 2.0 root hub
    Bus 004 Device 001: ID 1d6b:0003 Linux Foundation 3.0 root hub
    Bus 003 Device 001: ID 1d6b:0002 Linux Foundation 2.0 root hub
    
    $ # connected device (via USB)
    
    $ lsusb
    Bus 002 Device 002: ID 8087:0024 Intel Corp. Integrated Rate Matching Hub
    Bus 002 Device 001: ID 1d6b:0002 Linux Foundation 2.0 root hub
    Bus 001 Device 004: ID 064e:d213 Suyin Corp.
    Bus 001 Device 002: ID 8087:0024 Intel Corp. Integrated Rate Matching Hub
    Bus 001 Device 001: ID 1d6b:0002 Linux Foundation 2.0 root hub
    Bus 004 Device 001: ID 1d6b:0003 Linux Foundation 3.0 root hub
    Bus 003 Device 006: ID 0bb4:0c03 HTC (High Tech Computer Corp.)
    Bus 003 Device 001: ID 1d6b:0002 Linux Foundation 2.0 root hub
    

    Note the row, which is present in the second output block and is absent in the first one:

    Bus 003 Device 006: ID 0bb4:0c03 HTC (High Tech Computer Corp.)
    

    For some reason, my phone is recognized as a HTC, but that does not bother me so much. We will need only two parts of that row:

    0bb4:0c03
    

    The 0bb4 is a VendorID and the 0c03 is the ProductID for my phone.

  2. Add the phone attributes to the system. Sudo-edit the file /lib/udev/rules.d/69-libmtp.rules and point it to your device. Add a line like this (without any newlines):

    ATTR{idVendor}=="0bb4", ATTR{idProduct}=="0c03", SYMLINK+="libmtp-%k", MODE="0666", GROUP="audio", ENV{ID_MTP_DEVICE}="1", ENV{ID_MEDIA_PLAYER}="1"
    

    That should enable your system to see the device later.

  3. Enable write permissions for your device. Sudo-edit the file /etc/udev/rules.d/51-android.rules (you may need to create it) and add one line there:

    SUBSYSTEM=="usb", ATTRS{idVendor}=="0bb4", ATTRS{idProduct} =="0c03", MODE="0666", GROUP="plugdev"
    
  4. To check if your phone is recognized by adb, restart ABD server and check its device list:

    $ adb kill-server
    $ adb devices
    * daemon not running. starting it now on port 5037 *
    * daemon started successfully *
    List of devices attached
    0123456789ABCDEF    device
    

Deploying Rails project to Heroku

First of all, set up the Heroku Toolbelt. It is required for all the communications with the server.

The first step of communication with the Heroku servers is logging in. Just run heroku login and provide your credentials when asked.

Then, you need to create your application or go to the folder where it is located and tune it a bit. Tuning is divided into the following steps:

  • tuning the Gemfile to include the required gems
  • fixing the database.yml configurations
  • setting the server to handle static assets correctly

But let’s create out application on the Heroku servers first: heroku create [app_name]. If application name is not provided directly - it will be generated automatically.

Now, our application needs two gems to be included for the production gems’ group:

group :production do
    gem 'pg'
    gem 'rails_12factor'
    gem 'puma'
end

The third gem is used as a webserver instead of WebRick, which is default (puma is much, much faster!). The second one is required by Heroku. And the first one is used for PostgreSQL connectivity. If you do not wish to use database - skip it and a few next paragraphs.

Then, let’s add the database support for our application. It’s done simply, running

heroku addons:add heroku-postgresql:hobby-dev

Note: Heroku does not support sqlite since some times. This means you are forced to use either PostgreSQL or no database at all (yes, it’s possible! Yet, it works for simple or static web applications only…). You may want to change this if you would pay for your account. But this tutorial covers only free side of the Heroku deployment.

Now, there are two ways to set database connection options in Rails:

  1. set them directly at config/database.yml file
  2. set the environment variable DATABASE_URL

We will cover both cases. For the first one, you will need this section within your database.yml file:

production:
    adapter: postgresql
    encoding: unicode
    pool: 5
    url: URL_GOES_HERE

I will show how to get the <URL_GOES_HERE> value in a second. Just keep in mind to replace it with the correct value.

The second option, the environment variable, is set via the Heroku Toolbelt (did I tell you, it is used for almost every deploy operation you will perform?).

First you take the database URL from Heroku server:

heroku config | grep HEROKU_POSTGRESQL

Then, you copy the value you got (it starts with postgres://) and run the following:

heroku config:set DATABASE_URL=URL_GOES_HERE

Now let’s set our application to serve static assets. It is handy, because it is the easiest way to send images, stylesheets and javascripts to clients. Go to the config/environments/production.rb and change both config.serve_static_assets and config.assets.compile to true.

But beware: if your app/assets files directory contains files of other extensions than Rails’ Sprockets understands - Rails (and Heroku, particularly) will try to precompile them. And that may cause many troubles. You are recommended either to “teach” Sprockets to skip or precompile those files, or you should exclude them from project before deploying to Heroku.

And the last two steps separate us from our goal: first, you should push your project to Heroku’ Git repository, it created for you with the application (You do not use Git yet?! How dare you?!..).

Now, if you use database, run migrations with heroku run rake db:migrate.

And, finally, see your application running in the browser: heroku open.

Note: if you are using some assets from the outer web (GoogleFonts, for example) and are seeing your website through the https protocol, you should replace all those assets’ URL protocols with https too.