End-to-end testing with WebdriverIO
Small intro
Have you ever heard about end-to-end testing? Or maybe about testing automation? Those of you who had, may now be imaging Selenium. That’s right, in most of cases you will need to run Selenium Server and use Selenium Webdriver in your tests. Those come handy to run a standalone browser window, with no caches, filled-in fields or cookies and perform some operations in it.
In this article I will tell you my story of writing E2E tests for Angular webapp.
A brief of history
In my case, we first tried to use Protractor with Chai.js. That time we ended up with almost unsupportable bunch of code, succeeding in 100% of runs.
Next time we eliminated Chai and reworked all our tests to use Protractor only. So the code became more clear (I did not like the syntax, but it worked…), but after upgrading libraries (including Protractor), the ratio of successfull test runs decreased to just 40%.
We worked for two days, trying to fix those tests. And that’s how webdriverio came to our project.
And here’s a short tutorial on how to implement E2E tests with webdriverio in a sample project.
The requirements
Before we start, we need to initialize an NPM project:
npm initWe barely want to manage Selenium versions by ourselves. When it comes to continuous integration, that is not an option. So we’d better find a way of downloading the needed Selenium version automatically. And writing a short script is somehow a bad idea - there is an NPM module for that task already:
npm install --save selenium-standaloneAfter installing that module, you may manage and run your Selenium with
./node_modules/selenium-standalone/bin/selenium-standalone install
./node_modules/selenium-standalone/bin/selenium-standalone start
Now, in all our tests we will be using using Jasmine, since it allows to create a beautiful code, which is easy to support (if you need the maximum help from your customer - consider using Cucumber and BDD approach - I will cover this topic in one of my future posts). So we need to add Jasmine dependency to our project:
npm install --save jasmineTo initialize bare Jasmine-ready project you may use Jasmine itself:
./node_modules/jasmine/bin/jasmine.js initThis will create this directory structure for you:
.
├── package.json
└── spec
    ├── helpers
    └── support
        ├── config.json
        └── jasmine.json
So now you may place your tests in the spec directory, on any level. Just
remember to name your test files with the spec postfix
(for ex. spec/feature1_spec.js or tests/spec/Feature1spec.js).
To change that lowercase spec postfix, specify which files Jasmine should
look for in the spec/support/jasmine.json file, using the option spec_files.
For example, you can make it look for both *_spec and *Spec (underscore and
camel case file naming) postfixes:
{
    "spec_dir": "spec",
    "spec_files": [
        "features/**/*[sS]pec.js",
        "**/*_spec.js",
        "**/*_Spec.js"
    ]
}
The spec_dir option specifies the directory, where the test files are located.
And the spec_files option is what we are mostly interested in: it tells Jasmine
the pattern, it should use to check if a file (inside the #{spec_dir} directory)
is a test file or not. For example, the first value, "features/**/*[sS]pec.js",
tells that any file, whose path is spec/features/{any directory nesting depth}/*Spec.js
as well as any file with a path spec/features/{any directory nesting depth}/*spec.js is a
file, containing a test definition.
The last, but not least, we need the webdriverio itself:
npm install --save webdriverioAnd now we are ready to make some code!
Preparation
First of all, we need to initialize the Selenium client. Generally speaking, it’s a special browser instance, which will be used for our tests only and when all the tests are done - it will be closed automatically. This browser (or a client) provides a programmable interface, e.g. executes commands we ask it to execute. The commands allow, for example, to manipulate the currently opened document (just like you used to do with javascript in the developer tools in your browser) - find an element, click it, retrieve its computed styles, etc. It also allows to manipulate the browser window itself - open a new tab, get and set its properties like width, height, position and many others.
So we really need that client for our tests - that’s the core! And we need that to run all our
tests (we don’t want to run a new browser instance for each separate test case, right?). So we
can put all the code, initializing Selenium client in a helper script and make Jasmine run it
before all (again, not each, but all - I’ll explain why this is essential in a moment) tests.
Let’s define this in the spec/helpers/settings.js file:
var webdriverio = require('webdriverio');

var timeout = 10 * 1000;
var config = {
  "desiredCapabilities": {
    "browserName": "chrome",
    "host": "localhost",
    "port": 9876
  },
  "baseUrl": "http://localhost"
};

jasmine.DEFAULT_TIMEOUT_INTERVAL = 2 * timeout;

beforeAll(function (done) {
    this.client = webdriverio
        .remote(config)
        .init()
        .url('/')
        .call(done);
});

afterAll(function (done) {
    this.client.end(done);
});

exports.webdriverio = webdriverio;
exports.config = config;
exports.timeout = timeout;
exports.baseUrl = config.baseUrl;
This code does three simple, but really important things:
- it sets up the webdriverio (which is an enhanced wrapper for Selenium client)
for all the tests, opens browser (configured by the
browserNameoption) window and navigates to the page, defined in thebaseUrloption - makes Jasmine wait a bit longer for each assertion in the tests, before marking it as failed on timeout (when Jasmine has timed out, waiting for an assertion)
- makes webdriverio client instance available in any test through the
this.clientmember (wherethismeans the test instance)
See, this code is run once, previous to all the tests, found by Jasmine. This is defined
by the beforeAll() call. We could use the beforeEach() function instead, but since opening
a new browser (Selenium client) instance is a time-consuming task, it’s better to do it once
and then just operate on an existing instance, opening new tabs when necessary. Thus is why
we are using beforeAll() for all the tests in the scope.
Here I’ve mentioned another essential thing, the test scope. Test scope is the current set of tests.
It could be defined by the describe("description", function () { /* test code */ }) function call.
But since we have no describe() calls before the beforeAll and afterAll calls, Jasmine
assumes we want to use those functions for all the known tests. But if you use the beforeAll inside
the describe() block, then this function (beforeAll()) will be run before all the tests,
defined inside that describe() block.
First scenario
Assume our application is a simple webshop - it has three pages: /#/products, /#/billing-details
and /#/order-summary. Rather simple webshop:
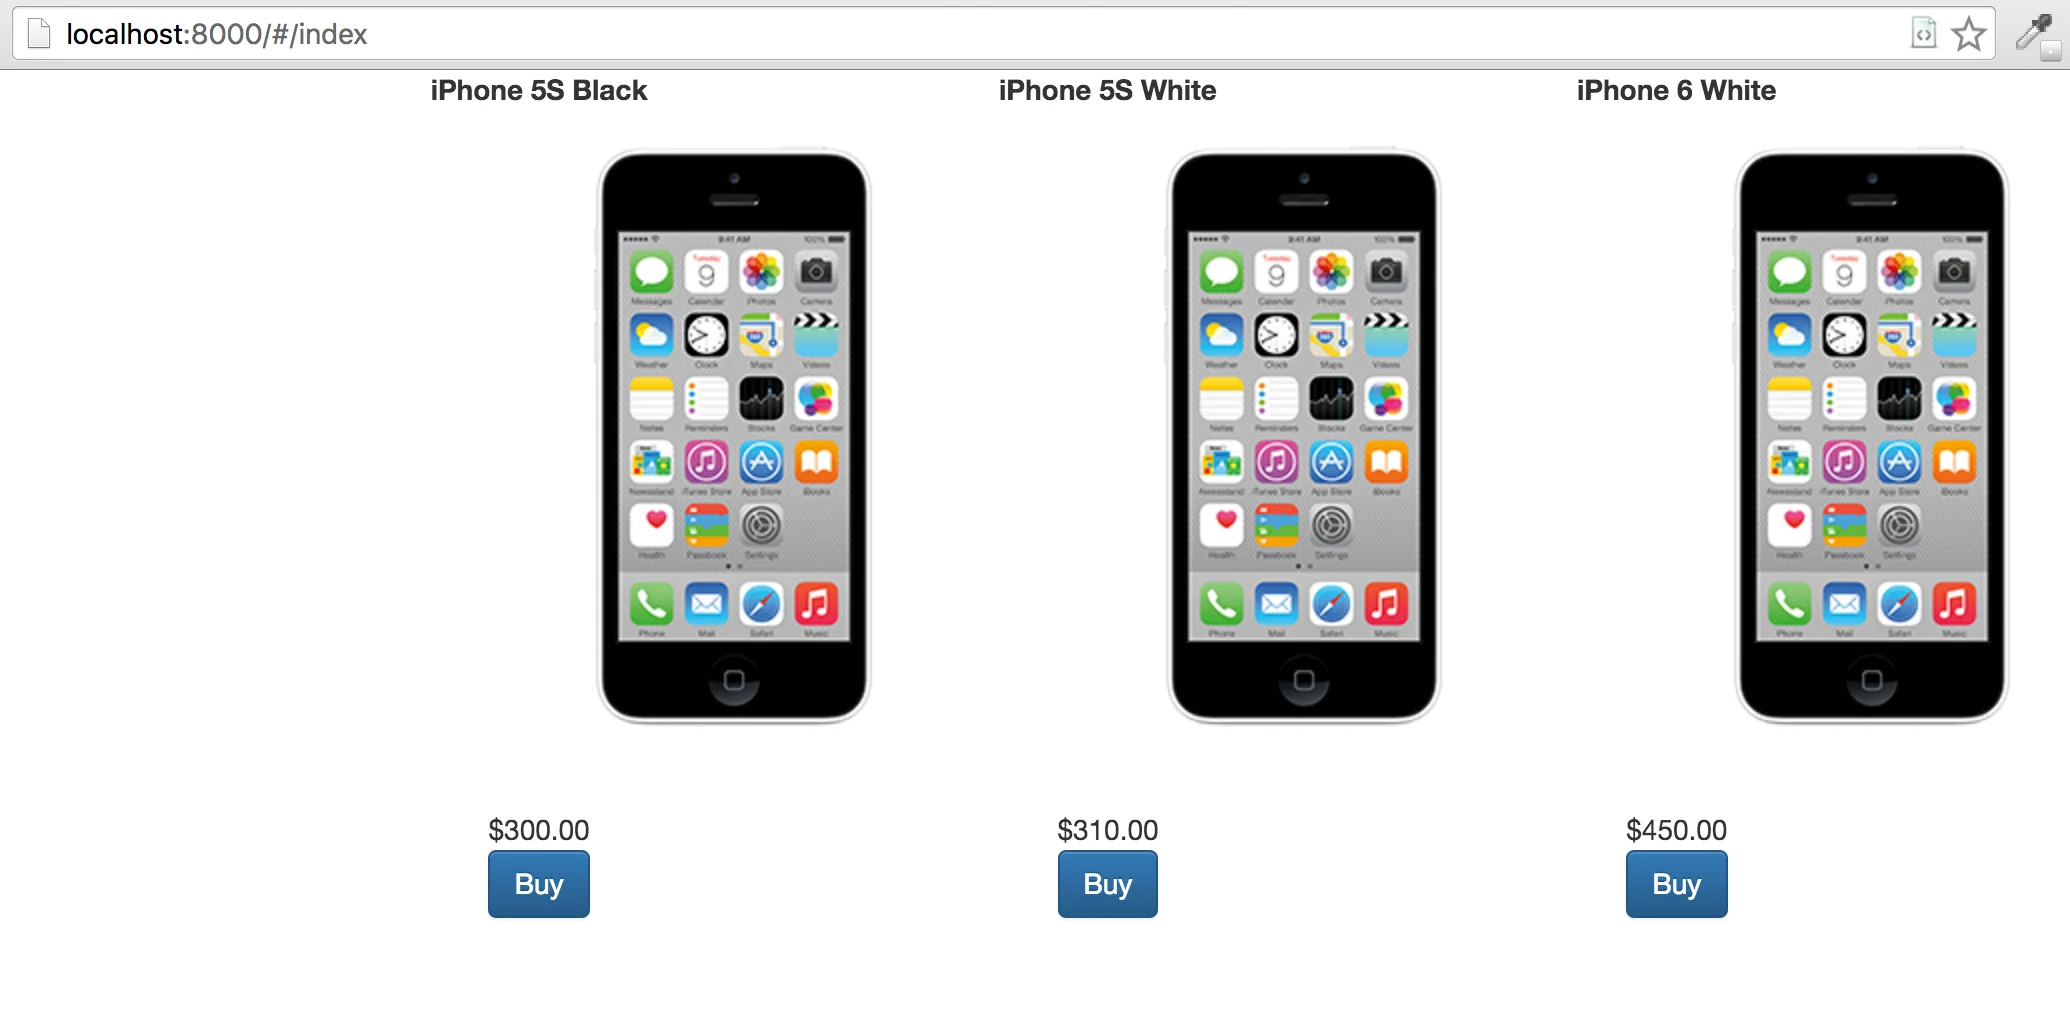


And here is our first scenario: user selects the iPhone, clicks “Buy”, fills in his billing details and waits for his brand-new iPhone to come.
In terms of BDD it could be described in a scenario like this:
Feature: Placing an order
    Scenario: Ordering a single product
        Given a webshop page
            And a guest user
        When the user selects the "iPhone" product
            And clicks the "Buy" button
            And fills out the billing details correctly
            And clicks the "Submit" button
        Then the "Billing successfull" page is shown
This scenario is great for the customer. And it’s awesome if the customer is able to provide developer(-s) with a number of such scenarios. But our test will be more kind of “developer-friendly”.
Let’s create a specs/ordering_a_single_product_spec.js file:
var settings = require('../helpers/settings.js');

describe('buying iPhone', function () {
    describe('when user selects iPhone', function () {
        it('he gets redirected to the billing-details page', function (done) {
            this.client
                .waitForExist('.title*=iPhone 6 White', settings.timeout)
                .element('.title*=iPhone 6 White')
                .element('..')
                .click('button*=Buy')
                .waitForExist('button*=Check out', settings.timeout)
                .url(function (err, res) {
                    expect(res.value).toMatch(/\/#\/billing-details$/);
                })
                .call(done);
        });
    });
});
Let’s run our test: first, start your webserver to handle the webshop; then run a
Selenium instance and at last, start ./node_modules/jasmine/bin/jasmine.js.
In this test case we do the following things:
- wait untill all the products are loaded (
waitForExist('.title*=iPhone 6 White', settings.timeout)) - select parent element for iPhone 6 White product (
element('.title*=iPhone 6 White').element('..')) - click on the Buy button within that product’ container (
click('button*=Buy')) - wait until the Create account button is shown, signalizing we have been redirected to the next page
- get page’ URL and make an assertion to check if we have been redirected to the correct page
When we have done everything we need in our test case, we call the done callback to notify Jasmine
we have finished our test. This is how asynchronous tests are made in Jasmine - you define the test
with it(...), providing it with a callback. And when you finish all the asynchronous things in your
test, you just call that callback so Jasmine could switch to the next test.
What’s interesting, Jasmine runs test in the order they are defined. So you may assume that everything you did in previous test cases defines your current state. For example, after our test case, namely ‘when user selects iPhone he gets redirected to the billing-details page’, we stay on the page we finished shortly.
Given that, we will not add additional checks or waitForExist()s to get to the next steps.
Dealing with forms
The next step is filling out billing details:
describe('when user provides his billing details', function () {
    it('he gets redirected to the order-summary page', function (done) {
        var billing = {
            firstName: 'Test',
            lastName: 'User',
            country: 'United Kingdom',
            city: 'London',
            address: '221B, Baker Street',
            zipCode: '12345',
            phone: '9998882245'
        };

        this.client
            .setValue('[name="firstName"]', billing.firstName)
            .setValue('[name="lastName"]', billing.lastName)
            .setValue('[name="address"]', billing.address)
            .setValue('[name="country"]', billing.country)
            .setValue('[name="city"]', billing.city)
            .setValue('[name="zipCode"]', billing.zipCode)
            .setValue('[name="phone"]', billing.phone)
            .click('button*=Check out')
            .waitForExist('h2*=Order summary', settings.timeout)
            .url(function (err, url) {
                expect(url.value).toMatch(/\/#\/order-summary$/);
            })
            .call(done);
    });
});
The new thing here is how we fill out input fields with webdriverio - using the setValue() method.
Advanced element lookup
The last page we need to check is order-summary. Here we want to check if the order total
is exactly the same, as our iPhone’ price. But this is where things got tricky: we have two
different rows with the same value. How do we check if we are looking at the correct one?
We will use XPath to get to the correct element:
describe('order summary page', function () {
    it('contains correct order total', function (done) {
        this.client
            .isVisible('//div[contains(@class, "row") and contains(., "iPhone 6 White") and contains(., "$450.00") and ancestor-or-self::div[@ng-repeat]]')
            .then(function (visibility) {
                expect(visibility).toBe(true);
            })
            .isVisible('//div[contains(@class, "row") and descendant::div[contains(., "Total:")] and contains(., "$300.00") and not(contains(@class, "ng-scope"))]')
            .then(function (visibility) {
                expect(visibility).toBe(true);
            })
            .call(done);
    });
});
Seems complicated, doesn’t it?.. But it’s not that hard. We used XPath instead of usual selectors to find the element needed. And here’s how one could read it:
say, we have this XPath: //div[contains(@class, "row") and contains(., "iPhone 6 White") and contains(., "$450.00") and ancestor-or-self::div[@ng-repeat]].
This could be split into three parts:
- path to the element,
//- it tells browser’s engine to look for this element everywhere, independently on its parent - element tag,
div; it could be “any” selector,*, but we precised our search - element attributes’ matchers, or everything in square brackets
Let’s take a closer look on those - they are really interesting ones:
- first we have
contains(@class, "row"); it tells engine to look for an element, whoseclassattribute contains (or “partially matches” if you wish)rowstring - now we have
contains(., "iPhone 6 White"); it looks for text content inside tag; including its children - speaking of children, we’ve also got a parent matcher,
ancestor-or-self::div[@ng-repeat], which looks for<div>element withng-repeatattribute in the current element or any of its parents - you may noticed a concatenation of all those matchers with
andkeyword
Wrapping up
So that was a really short example on how to use Jasmine, webdriverio and how to create end-to-end tests. As promised, I will cover the BDD testing and Cucumber in some of my future posts.
References
Try reading more on XPath on w3schools.
Webdriverio API you may find on its docs page.
Webshop application, used in this article is available on GitHub.